
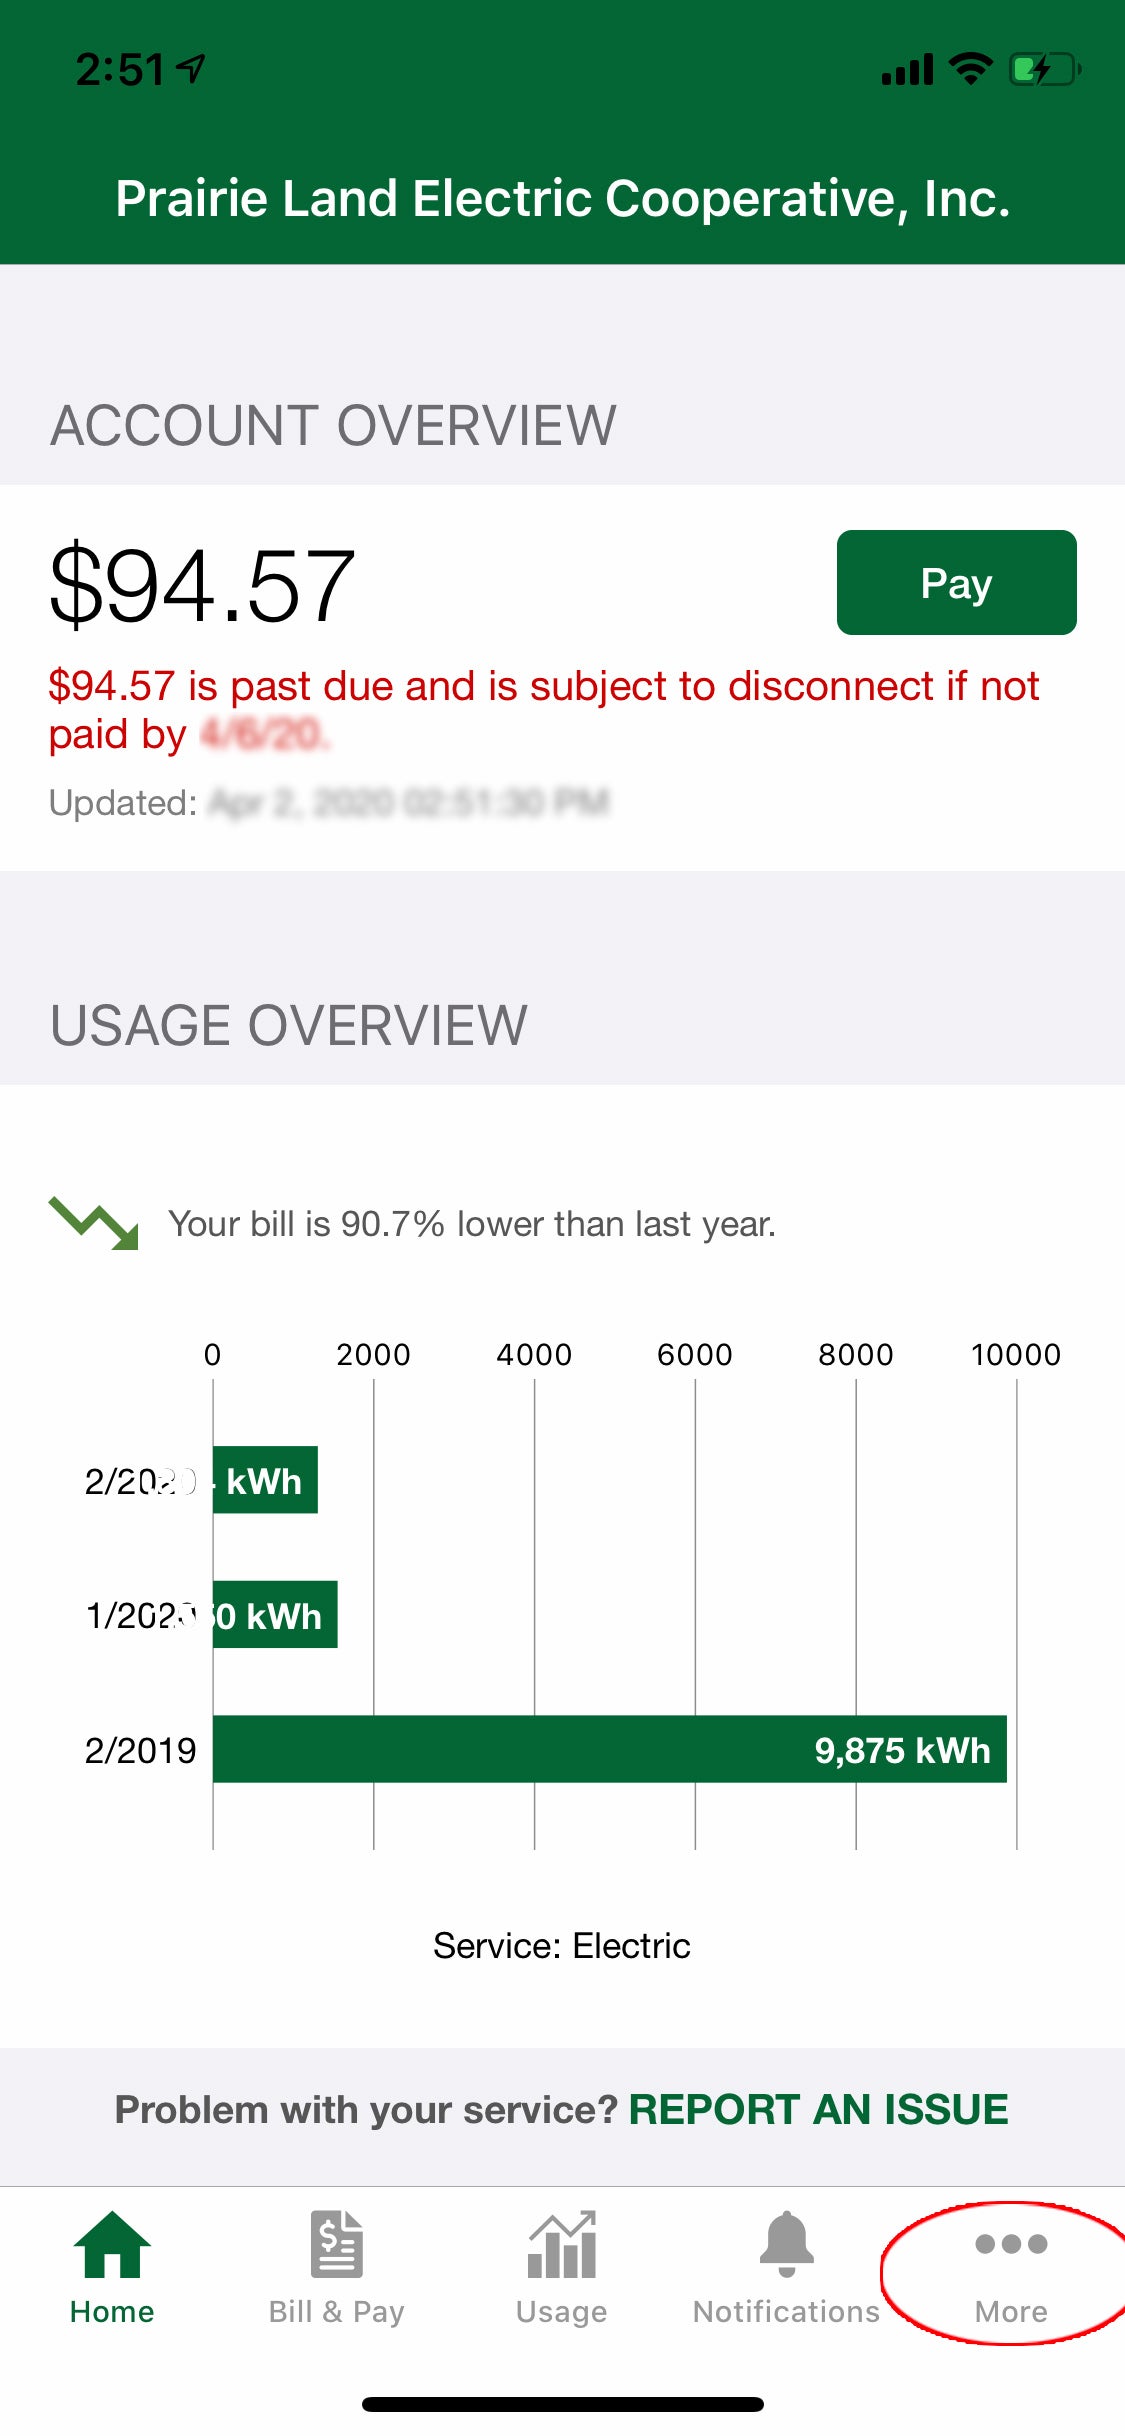
1. Sign in, then click the ellipse at the bottom of the screen labelled “More.”
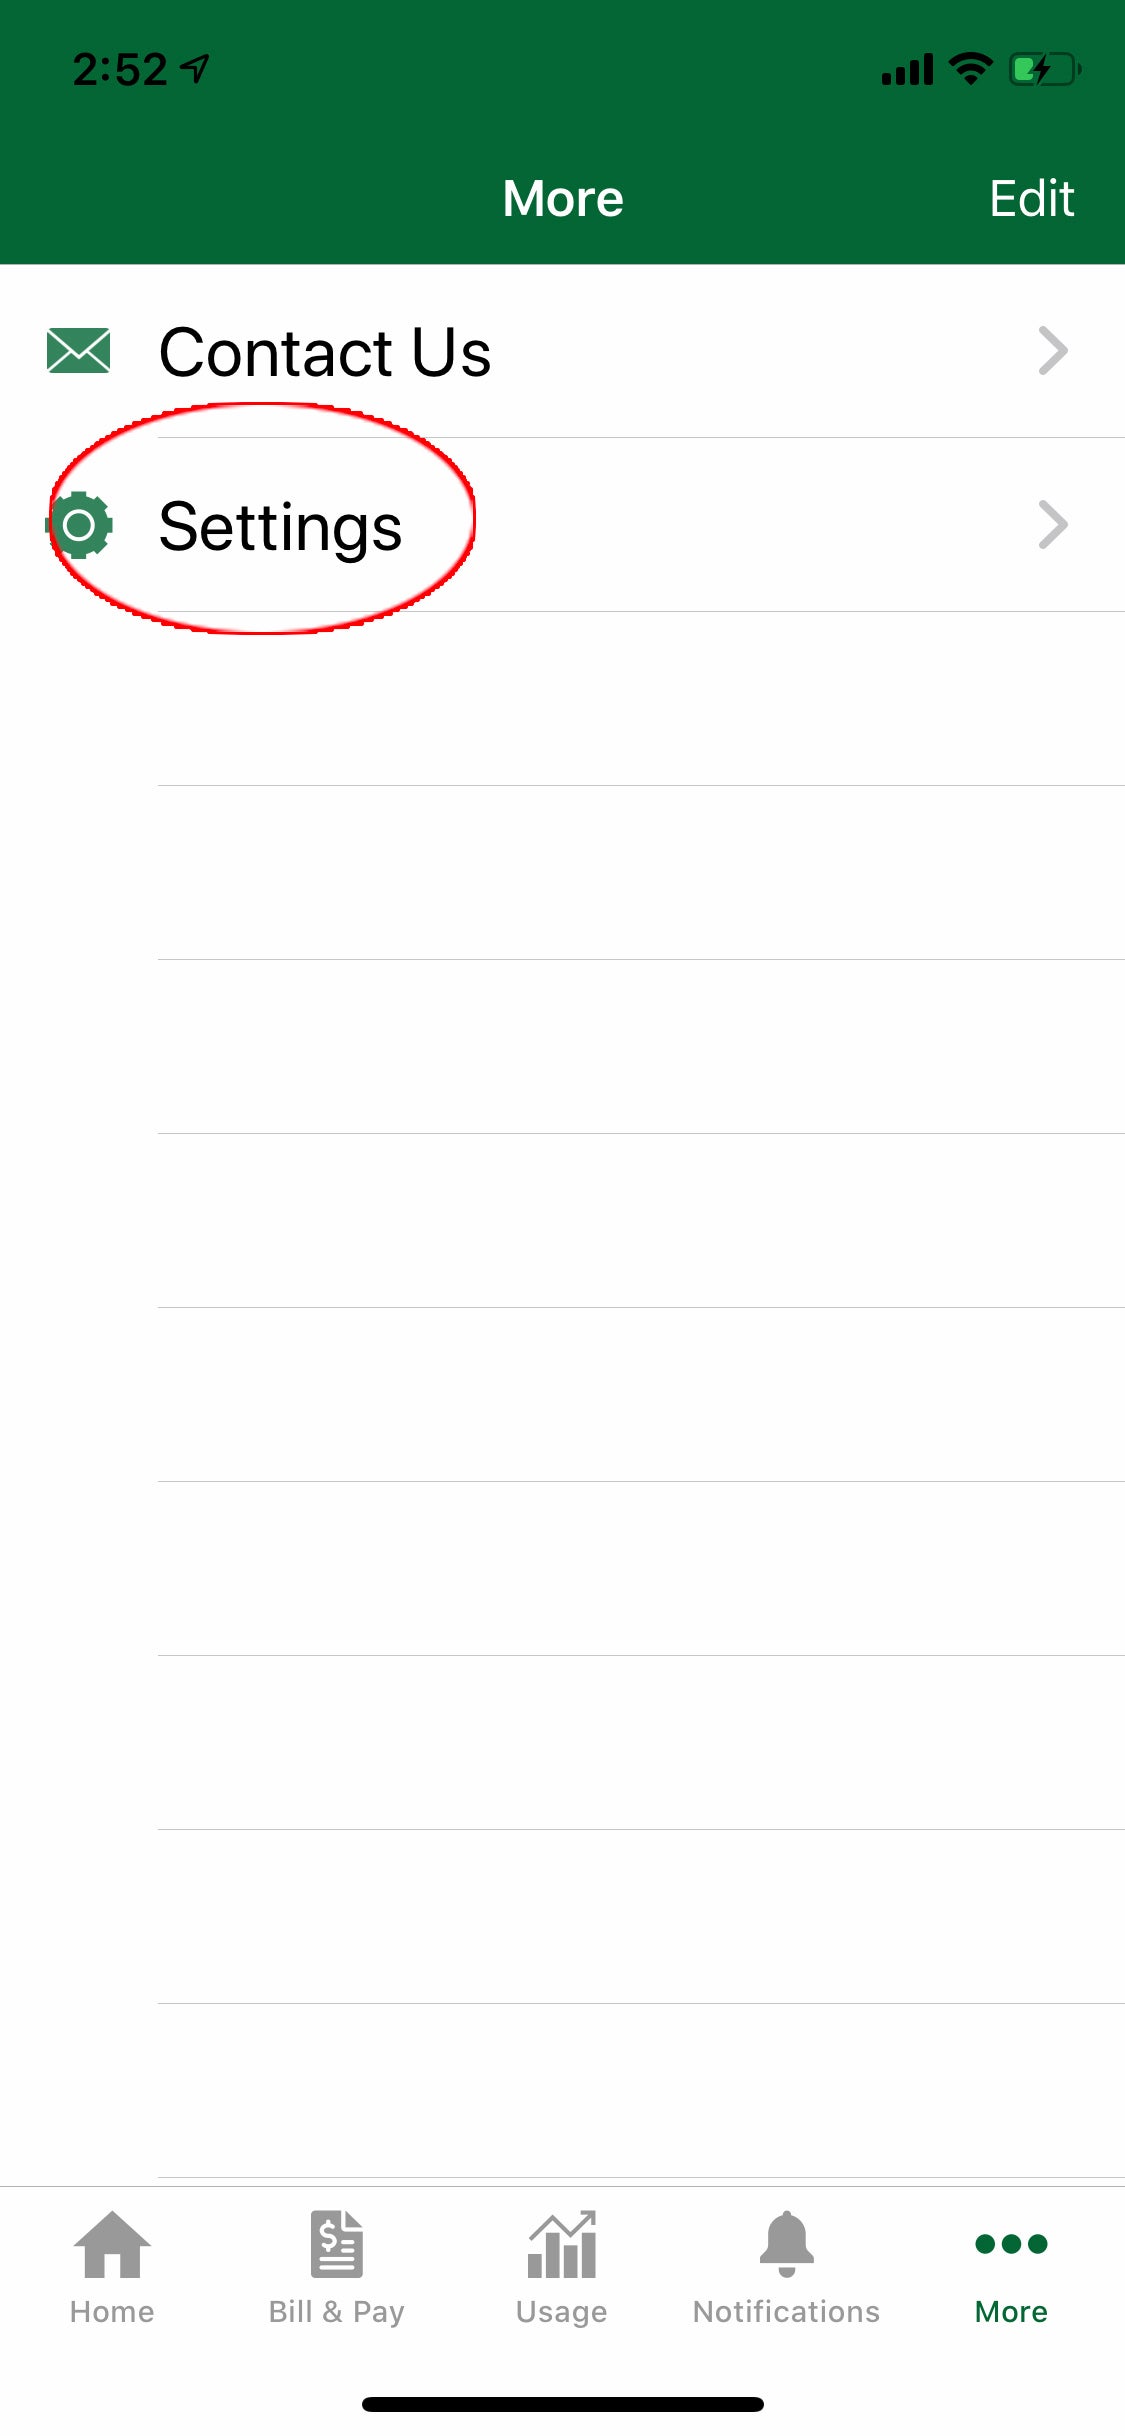
2. On the next screen click “Settings.”
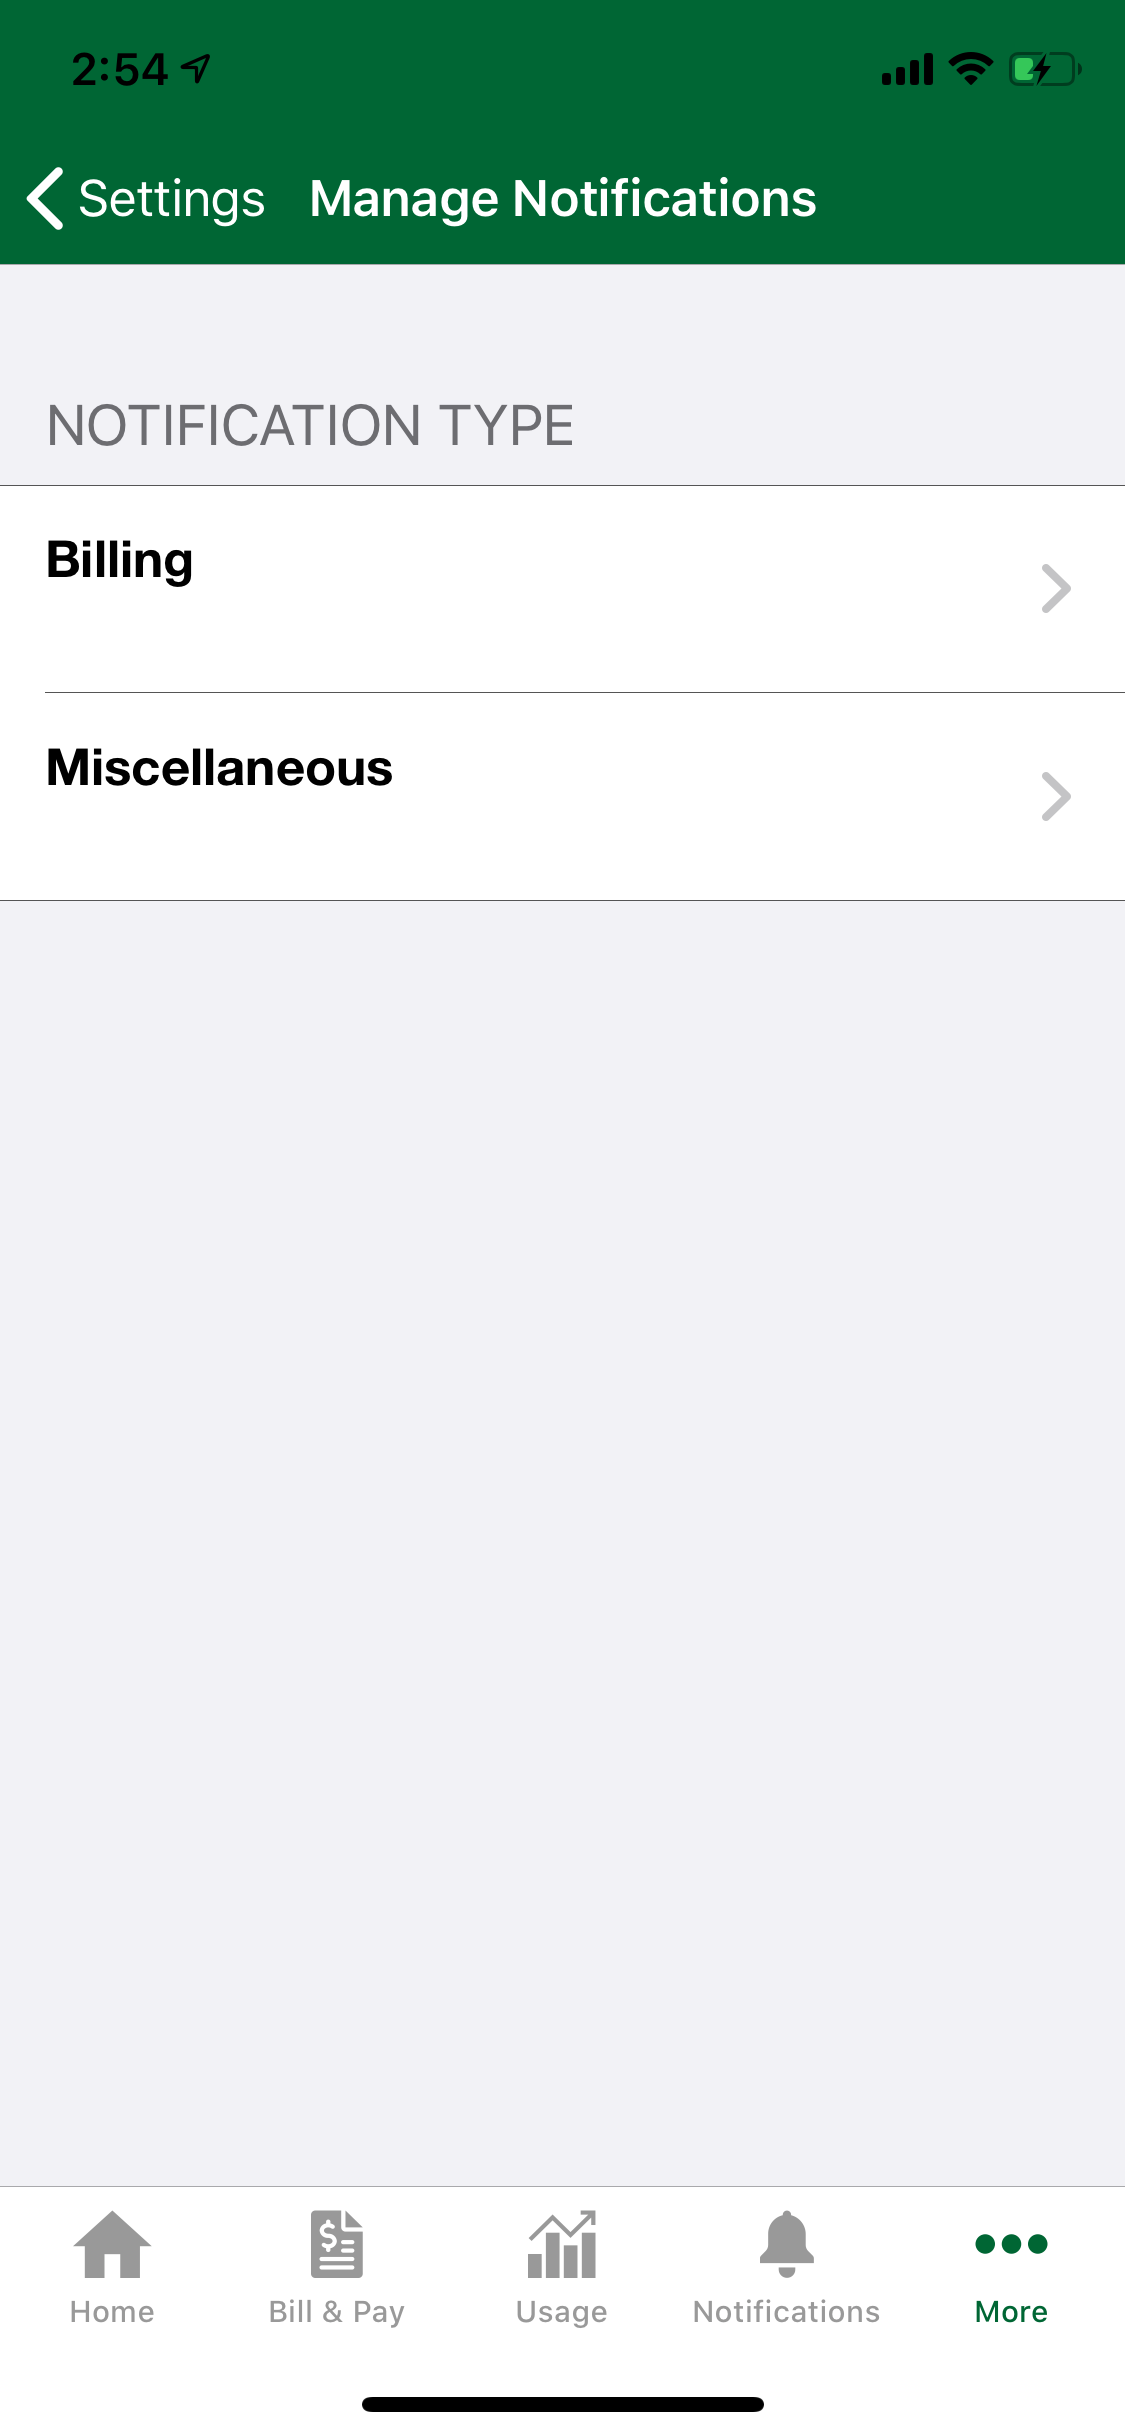
3. Click the 5th option, “Manage Notifications.”
4. The next screen will show the two categories of notifications. You'll want to go through both of them. Start by selecting "Billing."
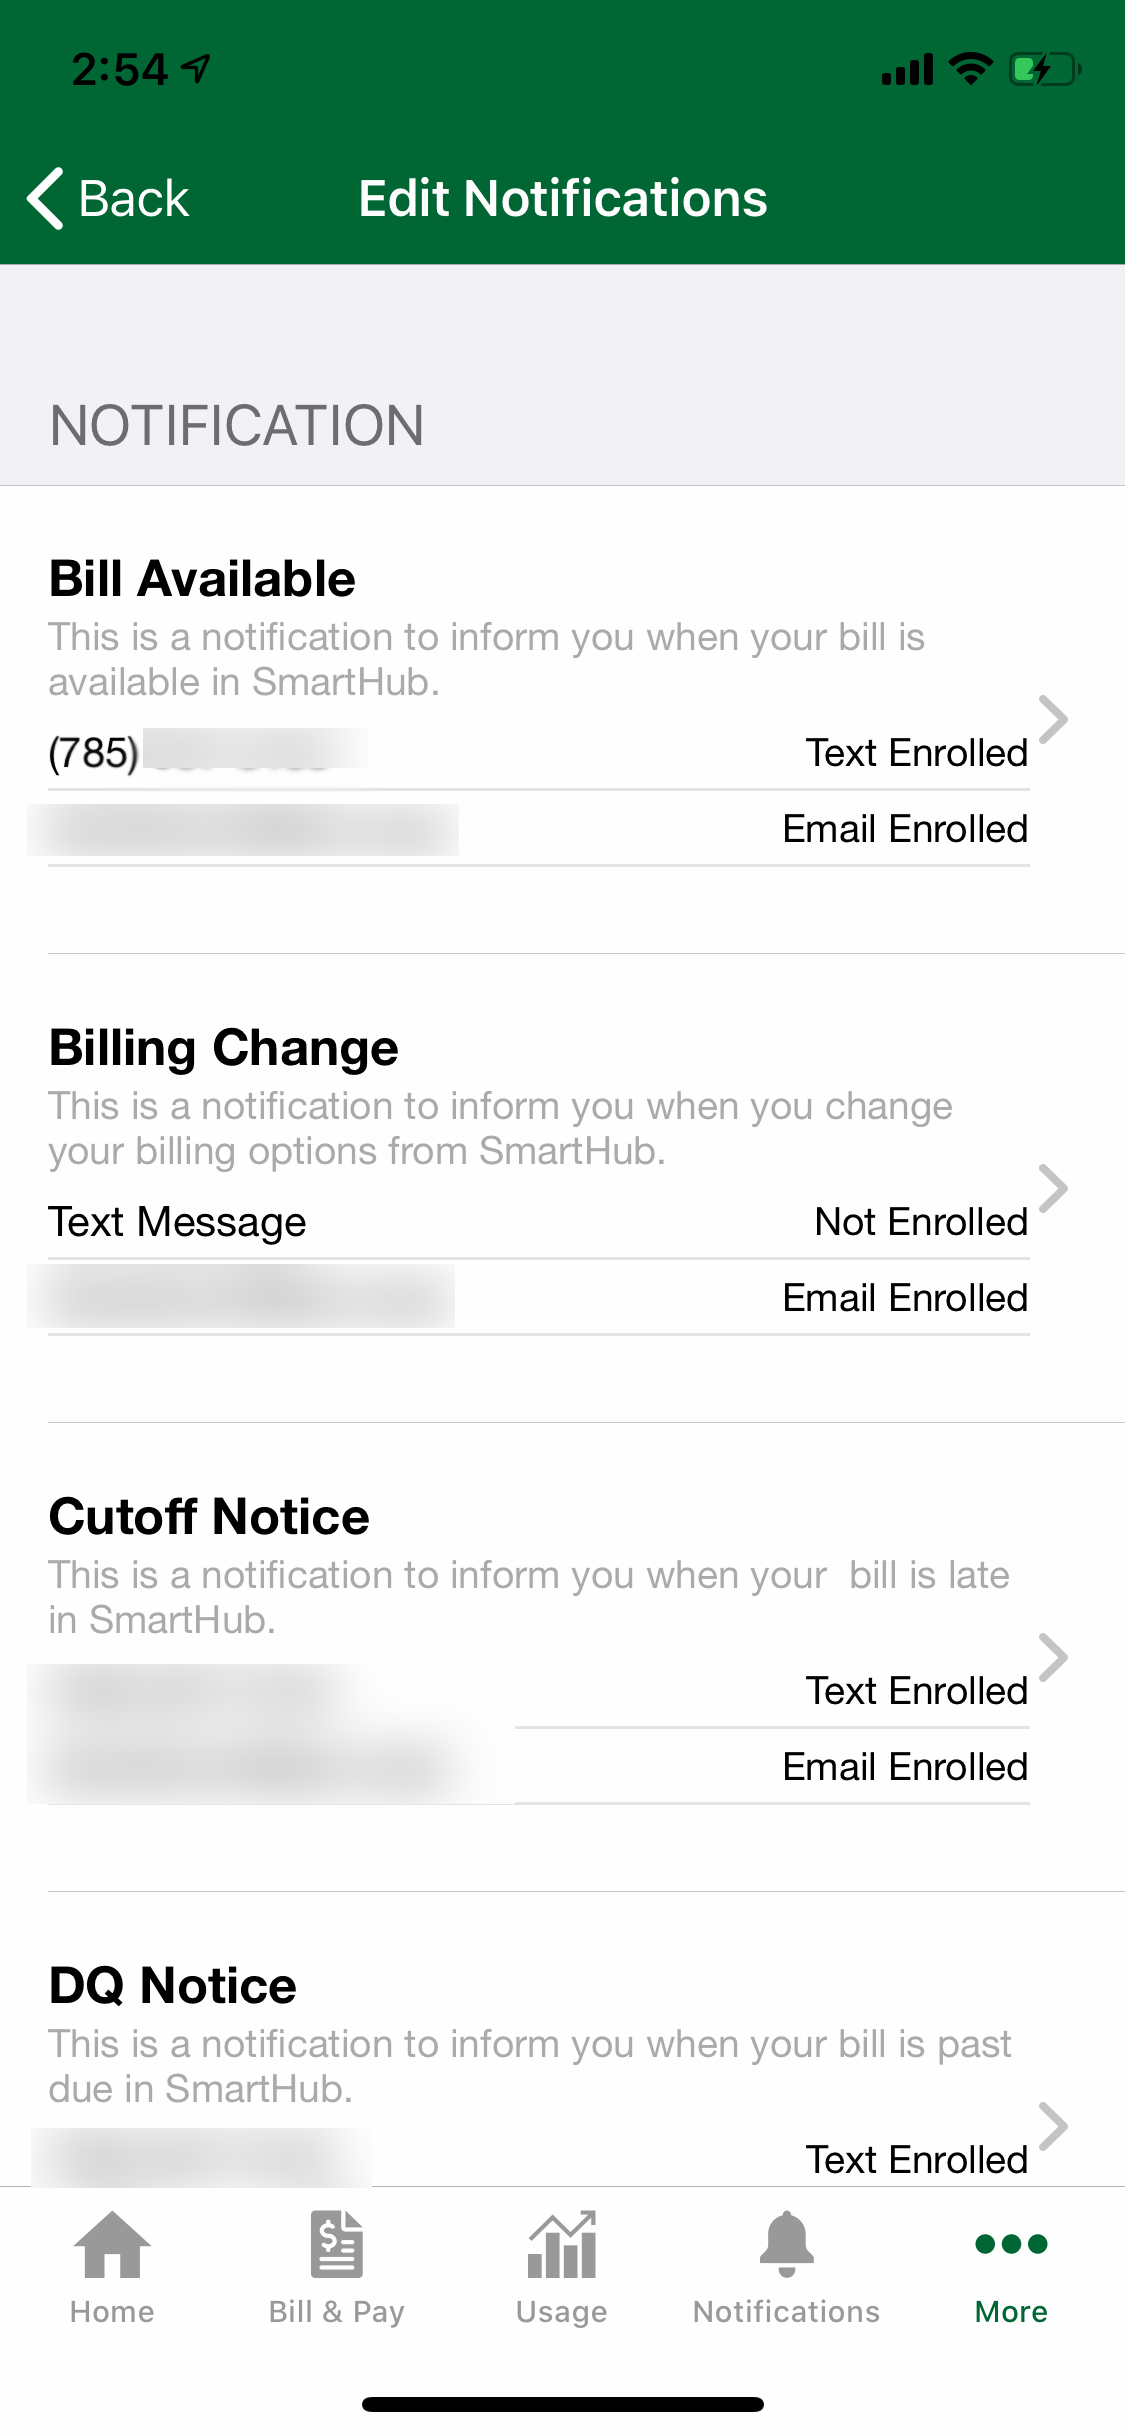
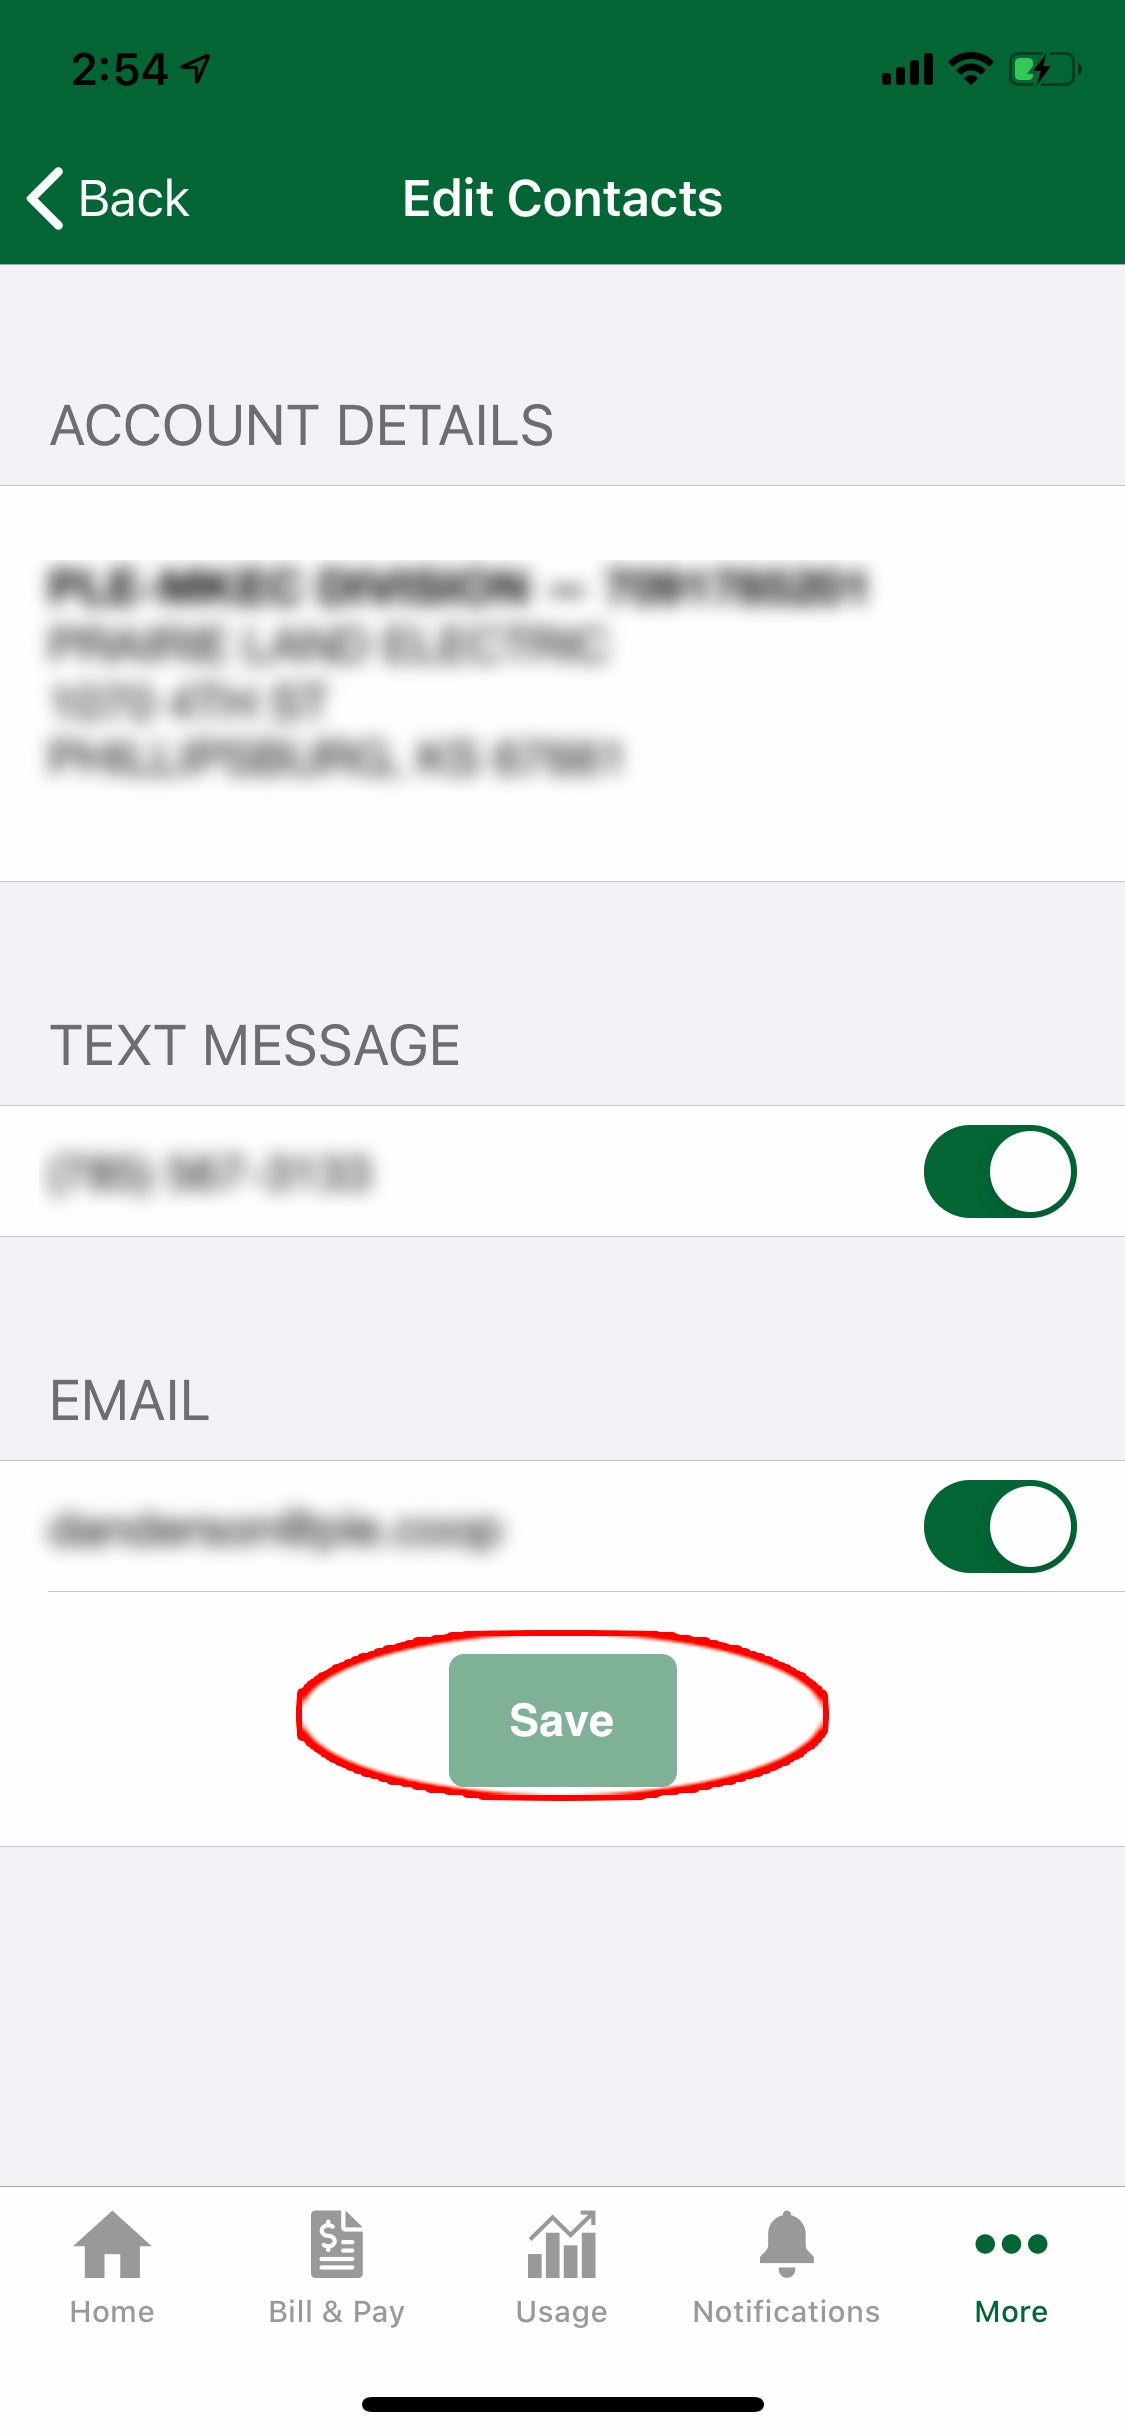
5. There will be several types of alerts listed, with a description for each. Some of the items are set by default. For each alert type, decide if you would like to be notified, and if you prefer a text, email, or both. Ensure your phone or email are listed (or multiple if you have set up one for other users.) On the far right, it may have "Not Enrolled" or "Text Enrolled or "Email Enrolled." Click there to ensure the messages are set up to go where you want them to.
6. If you make any changes, click "Save."
7. Repeat this procedure for "Miscellaneous."

7. Repeat this procedure for "Miscellaneous."